This version of the tutorial applies to MarkLogic 8 and later.
This tutorial will walk you through the creation of a simple MarkLogic-based application. Before starting, you should download and install the latest version of the MarkLogic server. Installation instructions for the server can be found here.
The first thing we are going to need for this application is some XML content. Without any content our application is going to be rather hard to test and somewhat dull. For this tutorial we’re going to use some Shakespeare plays in XML format. At this point all you need to do is download the zip file. We’ll get back to our content in a little while.
Configuration
While Shakespeare’s works are downloading, let’s set up MarkLogic for our project. All we need for now is a database with at least one forest. (A forest actually holds the data; a database may consist of multiple forests and may be split among multiple hosts.)
We’ll be creating a few files for our project, so let’s start by creating a directory for this project. In your project directory, create two subdirectories: config and src. We’ll add files as we go.
To configure our project, we’ll use the MarkLogic Management API. We’ll start with a configuration that we can pass to the API. Our first step is to create a database. Make a file in your config directory called content-db.xml and paste this into it:
<database-properties xmlns="https://marklogic.com/manage">
  <database-name>shakespeare-content</database-name>
</database-properties>
Our XML file holds the configuration we want; to tell MarkLogic to use it, we’ll run a curl command. (curl is a commonly-used command line tool for sending HTTP messages; if you prefer a different tool, you can use that instead.) We’ll direct this command to port 8002, as that’s where MarkLogic’s Manage application server listens.
curl --anyauth --user admin:mypassword -X POST -d@./config/content-db.xml \
  -i -H "Content-type: application/xml" \
  https://localhost:8002/manage/v2/databases
This tutorial assumes the admin password is “mypassword”; naturally you’d use something more secure for real deployments. Substitute your password accordingly.
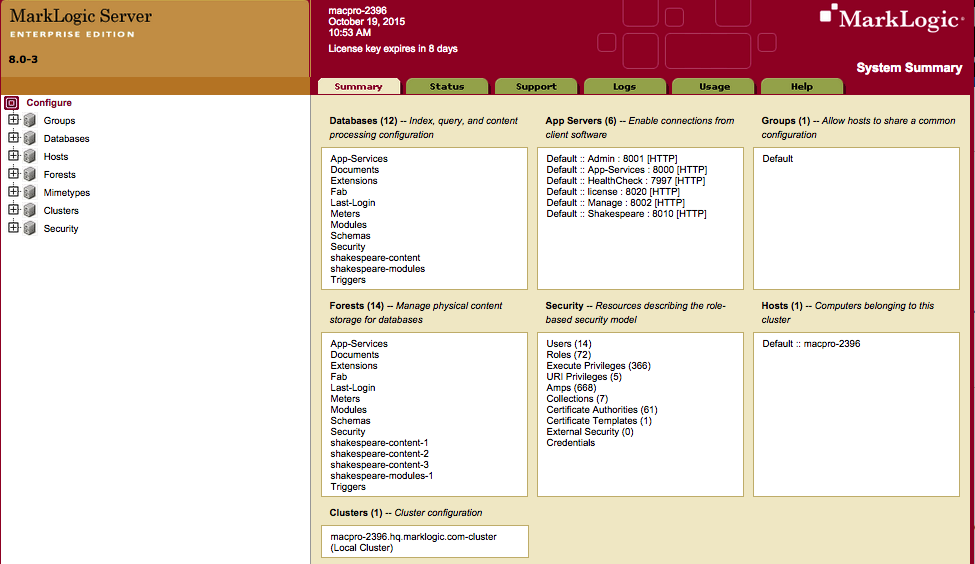
Having run this command, you now have a database called shakespeare-content. You can verify this by looking at the Admin UI on port 8001.
As mentioned earlier, we also need a forest, which will physically hold our data. Create another file in your config directory called content-forest.xml and paste the following:
<forest-create xmlns="https://marklogic.com/manage">
  <forest-name>shakespeare-content-1</forest-name>
  <database>shakespeare-content</database>
  <host>my-host</host>
</forest-create>
An important note about this file: the “host” element needs to match the name that MarkLogic knows for the host. That means we can’t just use “localhost” here. If you’re not sure what name MarkLogic knows, check the Admin UI on port 8001 or use the Management API — my host is macpro-2396.
curl --anyauth --user admin:mypassword -X POST -d@./config/content-forest.xml \
  -i -H "Content-type: application/xml" \
  https://localhost:8002/manage/v2/forests
Loading Our First Files
Now that we have a database, it’s time to load up some data. For this task, we’ll use the MarkLogic Content Pump. Download and unzip MLCP. This tool has a wide range of capabilities, but we’ll do something pretty straightforward with it: we’ll point MLCP to the zipped bunch of Shakespeare documents that we downloaded earlier and load them as separate XML documents in our MarkLogic database.
~/software/mlcp-1.3-3/bin/mlcp.sh import -host localhost -port 8000 \
  -username admin -password mypassword -database shakespeare-content \
  -input_file_path shaks200.zip -input_compressed true
You may need to adjust the path to where you installed MLCP. We use port 8000 because it has a built-in XDBC server, which MLCP needs. Each application server has a content database associated with it. We use the -database parameter to ensure the content gets to our shakespeare-content database.
Getting Started with Query Console
OK. That was easy enough. However, like most programmers, I’m somewhat skeptical. Sure, MLCP’s output looks like it did something, but how do I know it loaded the documents? How do I know they were loaded correctly? Well, we can use Query Console to help us verify that our documents are in the database (and to do lots of other stuff as well). Query Console is basically a web-based programming environment for MarkLogic server. To access Query Console all you need to do is point your browser to https://localhost:8000/qconsole. Really. That’s it. Go ahead, do it. I’ll wait…Super! You’re back. You should now seem something very much like this:
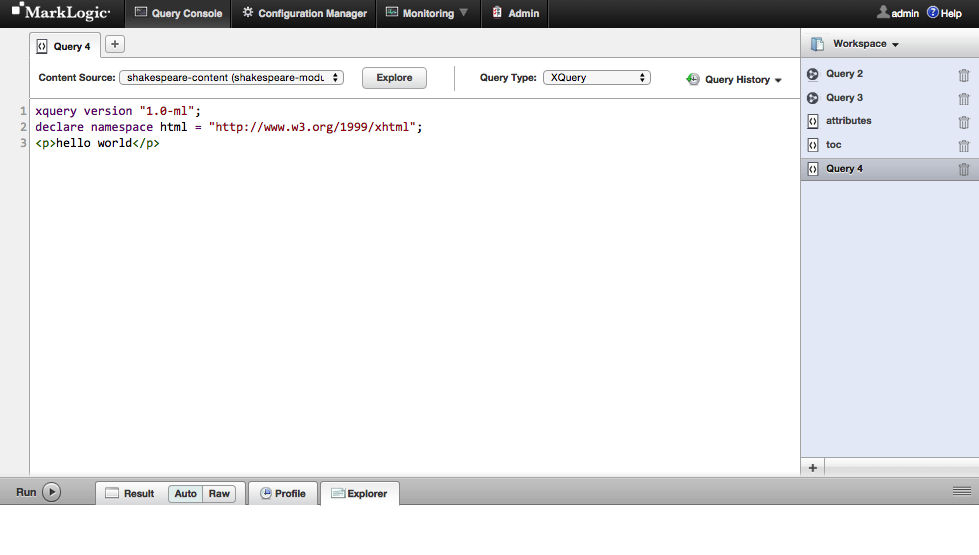
The first thing we want to do here is to choose which of our databases we want to set as the target for our actions in Query Console. We choose the shakespeare-content database by selecting it from the dropdown list labeled “Content Source”. Now we can use Query Console to verify that our play was loaded into the database. Click on the “explore” button near the top left of the screen, just to the right of the dropdown box you just used to select our Shakespeare database. In the bottom half of your screen you should now see a list of all documents contained in our database, as well as a little bit of information about the documents. If you click on the document link you will be presented with the actual content of the document. Now we know for sure that we have the database configured and our plays loaded.
Lastly, let’s get a quick glimpse of the power and utility of QueryConsole by using it to execute some XQuery for us. In the work space on the top left of the screen (called a buffer), delete all of the text except for the XQuery version statement. Now, let’s enter a bit of simple XQuery to show us an HTML rendering of Speakers and their Lines. Enter the XQuery found below into the text area in QueryConsole where you just deleted the default text:
for $speech in (doc()//SPEECH)[1 to 100]
let $speaker := $speech/SPEAKER
let $lines := $speech/LINE
return (
    <h2>{$speaker/text()}</h2>,
    <p>{for $line in $lines return $line/text()}</p>
)
Now, select the “HTML” button and then click on the “Run” button to see the results. Experiment with the Auto and Raw buttons to see how the results are presented.